
商品の詳細
商品の説明
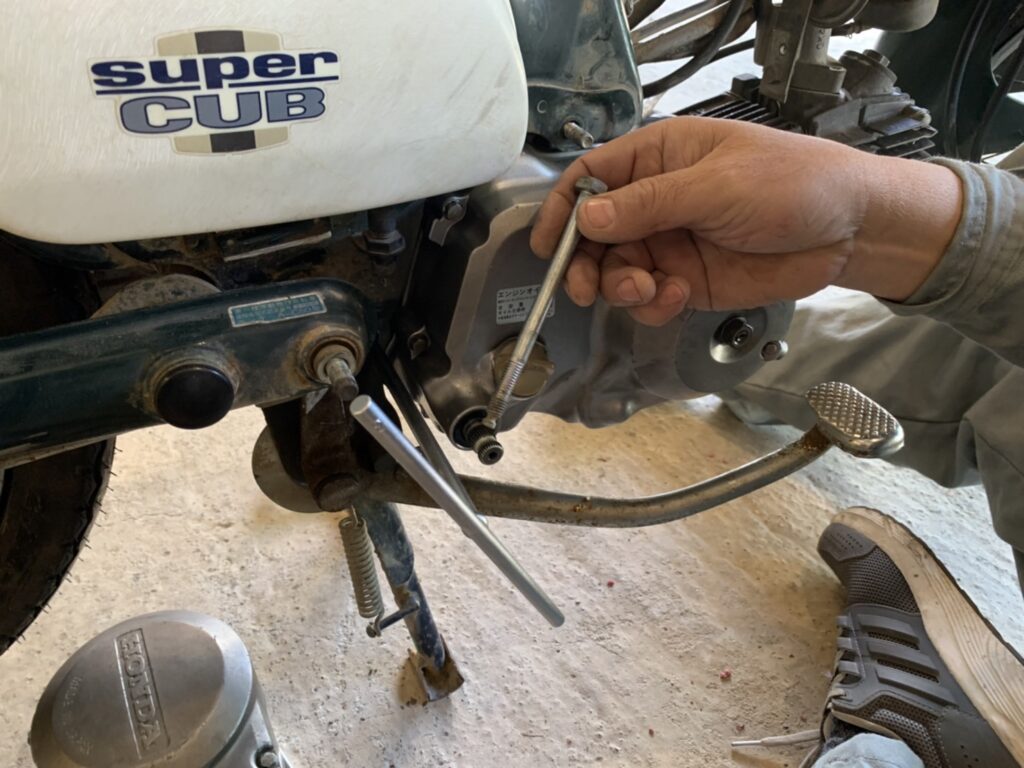
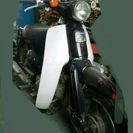
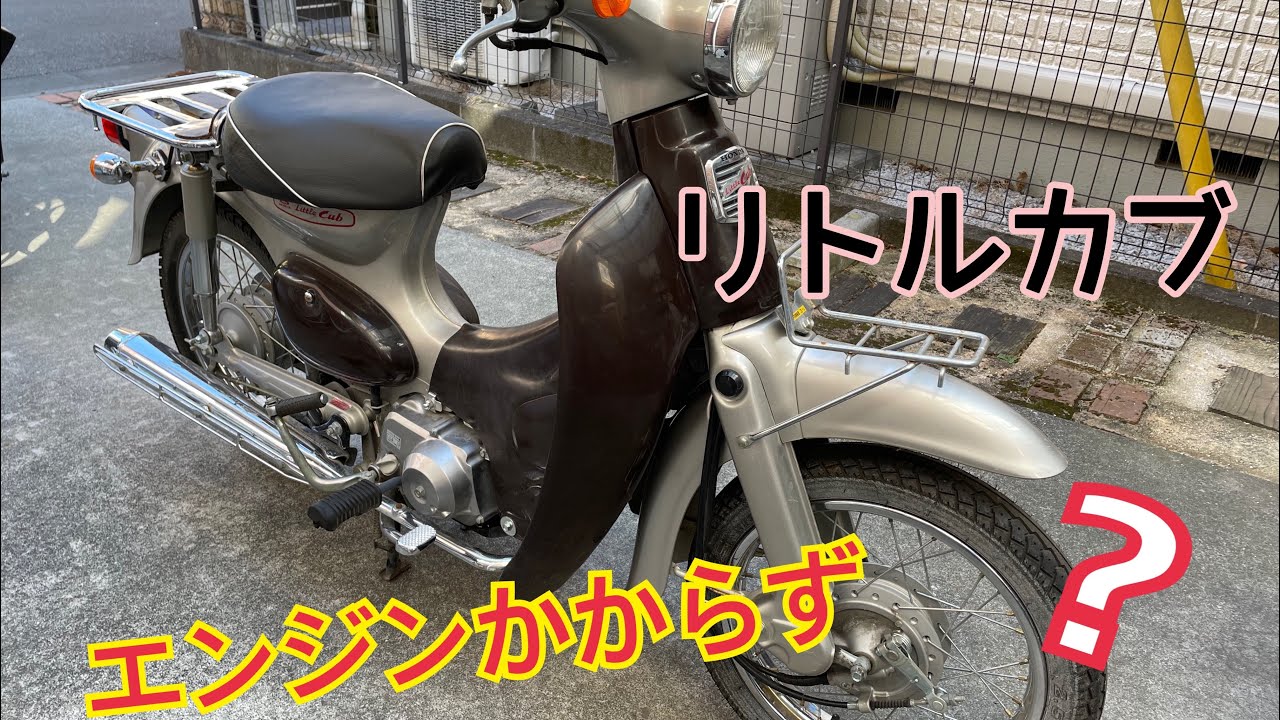
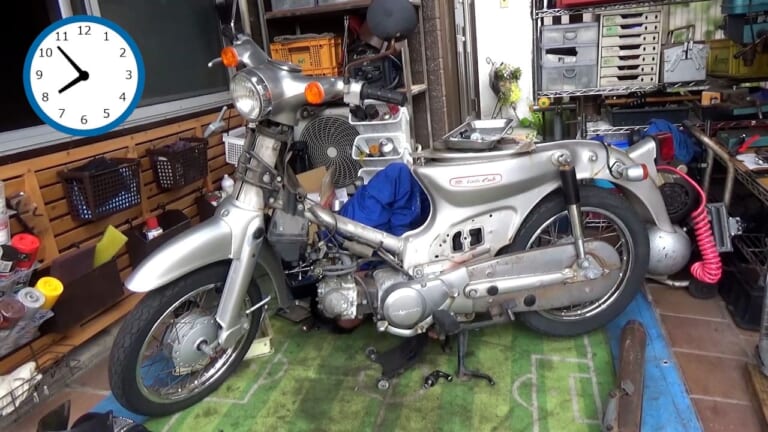
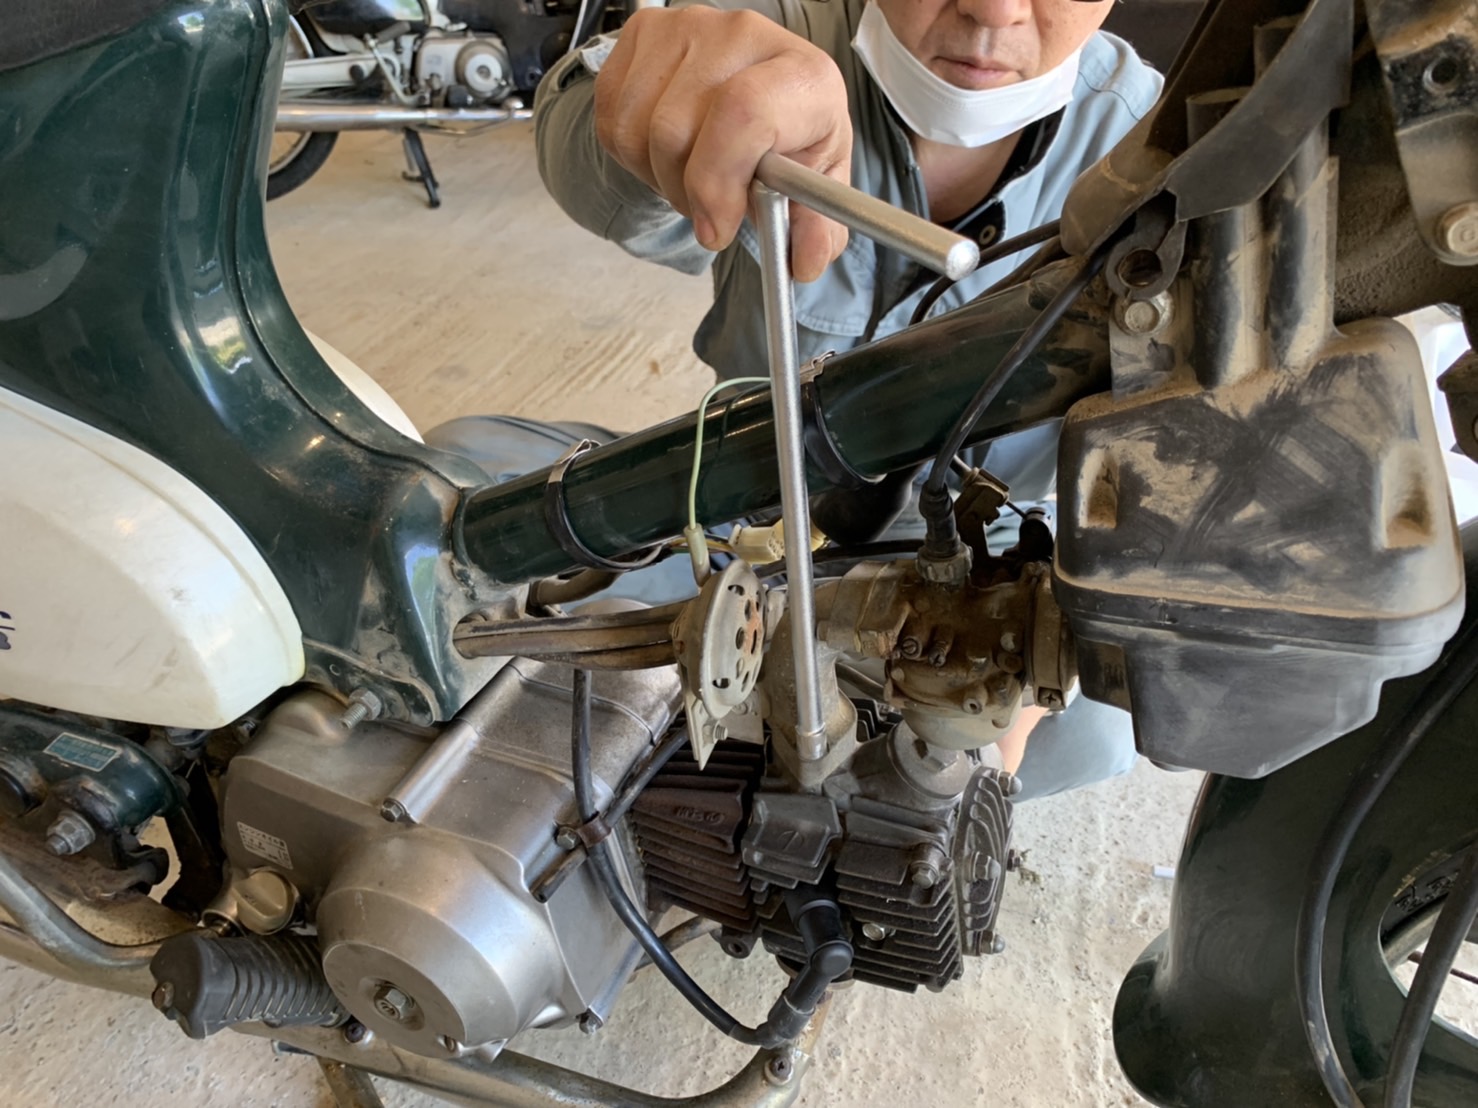
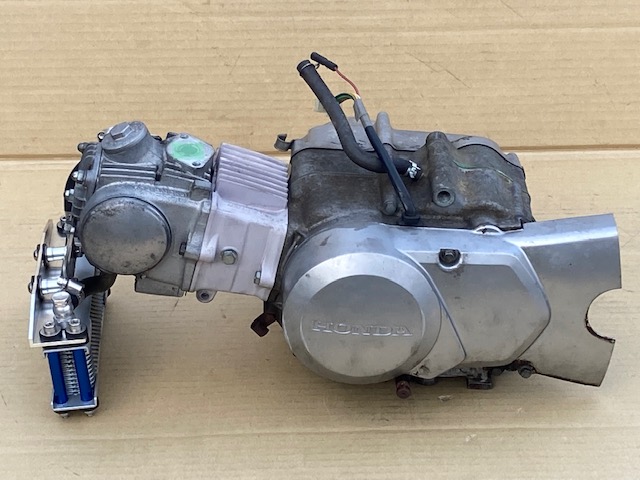
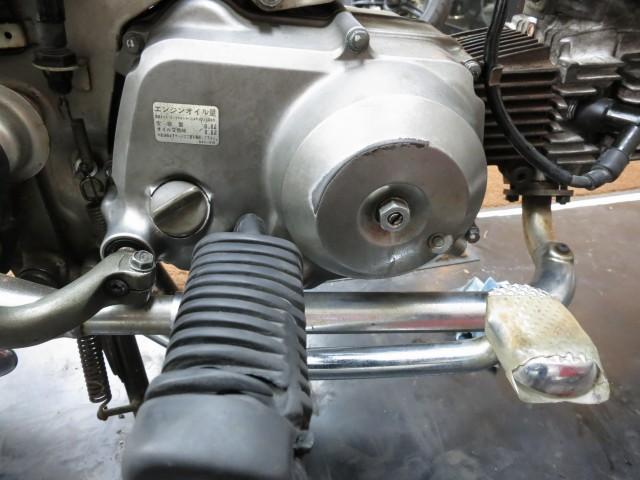
エンジンは要修理 リトルカブ - ホンダ
エンジンは要修理 リトルカブ - ホンダ
エンジンは要修理 リトルカブ - ホンダ

エンジンは要修理 リトルカブ - ホンダ

エンジンは要修理 リトルカブ - ホンダ
エンジンは要修理 リトルカブ - ホンダ

エンジンは要修理 リトルカブ - ホンダ

エンジンは要修理 リトルカブ - ホンダ
エンジンは要修理 リトルカブ - ホンダ

エンジンは要修理 リトルカブ - ホンダ
エンジンは要修理 リトルカブ - ホンダ

エンジンは要修理 リトルカブ - ホンダ

エンジンは要修理 リトルカブ - ホンダ

エンジンは要修理 リトルカブ - ホンダ
最新のクチコミ
父の御供え用に購入しました。今回で4回目です。いつも綺麗な蘭を届けていただき、ありがとうございます。これからもよろしくお願いいたします。
- CTC*****さん
- 24歳
- アトピー
- クチコミ投稿 3件
購入品
開店祝いでお贈りしました。先方もとても喜んでおられました。事前に写真を見せていただけるのは大変素晴らしいサービスですね。とても安心してお任せできました。また何かありましたら次回もお願いさせていただきます。
- SFW*****さん
- 34歳
- アトピー
- クチコミ投稿 2件
購入品
グレーを購入しました。実際のカラーはイメージよりもやや淡い色味でしたが、とても可愛いので気に入ってます。
ゴミ袋の交換時、蓋を開ける時に慣れるまで少し力がいりましたが、コツをつかんだら大丈夫になりました。たくさん収量できて、チャイルドロックも付いているので安心して使用できます。
- XAU*****さん
- 31歳
- アトピー
- クチコミ投稿 3件
購入品
普通ネットでスーツを買うとしわだらけ、ほつれだらけであることが多いのですが、このスーツはそんなことがなく、アイロンがけ作業、ほつれ直し作業が不要で楽でした。生地・つくりも値段のわりにしっかりしていると思います。
- CAT*****さん
- 52歳
- アトピー
- クチコミ投稿 1件
購入品
HWN22345を購入しました!
キッチンの扉用です☆ノリがついた壁紙には挑戦できませんが、こちらはシール式なので周りを汚すこともなく、少し失敗しても貼り直すことができます。また、めんどくさがりなので汚れを完全に取らずに貼りましたが、問題なく貼れました☆端っこは軽く引っ張りながらドライヤーをしばらくあてるといい具合に伸びます(*^^*)切り込みを入れるコツも覚えると端っこもとても綺麗に貼れました。
柄のクオリティが高く、遊びに来た人には本当に木に取り替えたのかと間違われるほどでした。
おまけのスキージーが本当に役に立ちました!☆
まだ完全に貼り終わっておらず中途半端な状態ですが、写真をのせます。
黄緑が、貼る前の扉です!
- VYG*****さん
- 19歳
- アトピー
- クチコミ投稿 3件
購入品
他のショップで以前極暖のズボン購入したのですが、縫い目から内側の素材が飛び出てきたので
数回着用して処分しました。今回もどうか気になったのですが履きやすく前回の様な事はなくこれからの時期大活躍しそうです
- KJG*****さん
- 35歳
- アトピー
- クチコミ投稿 1件
購入品
欲しかったブラックが再入荷されてたのでリピしました。155cm、47キロでPSです。低身長でもジャストな丈で良いです。
- PAF*****さん
- 21歳
- アトピー
- クチコミ投稿 1件
購入品
リピート注文です!のりが多めについていて目印もあるのでカットしやすく使いやすいです。
- ALS*****さん
- 24歳
- アトピー
- クチコミ投稿 2件
購入品
164センチ51キロでM購入しました。普段L着ているのでMとLですごく迷いましたが、モデルさんの写真やレビューを参考にしてMにしました。でも注文した後も届くまでは心配でした。届いてみてTシャツの上からですが、ピッタリフィットでした。ピッチピチではなく丁度良かったかなと思いました。あと心配だったのがレビューでよく見かけた腰回りがキツイとゆーもの。
これは体格が同じような方を参考にしても、経産婦かそうじゃないかで腰回りの大きさがだいぶ違ったりして失敗したことがあるので。。
3人産んで骨盤広がってますが私の感想はガードル履いてるくらいの締めつけ感だなと思いました。
あとファスナーは全然スムーズでしたよ。
UVカットでUPF50+が理想だったのでとってもよかったです。
まだ使用してないので効果はわかりませんが今から楽しみです。
追記:海に朝10時前から15時くらいまでいましたが、日焼けはしていないように思えます。肌が赤くなることもなくヒリヒリも無縁!
ラッシュを着ずに日焼け止めクリームだけで過ごした旦那さんは真っ赤に日焼けして痛いって言ってるくらい焼けてました。
私はフードも被って子供の相手をしてましたが顔も焼けることなく過ごせました。
太陽の日差しの熱さは感じましたが日焼けは防止されていたようです。撥水も結構ありましたよ。
- CZJ*****さん
- 53歳
- アトピー
- クチコミ投稿 3件
購入品
セールの時などにポイントで実質ドラッグストアで買うより少し安めに買えてます!まとめ買いにとてもいいです。
- FWD*****さん
- 36歳
- アトピー
- クチコミ投稿 3件
購入品
バイク・ホンダ・バイク・ホンダ
-
-
3

vstar アルセウス
vstar
¥10,500
-
4

ベルト
ベルト
¥900


この商品を見ている人におすすめ
-
-

パナソニック エアコン 室内機 CS-282DFL-W
¥50,200
-
値下げ 二柱リフト ビシャモン
¥120,000
-
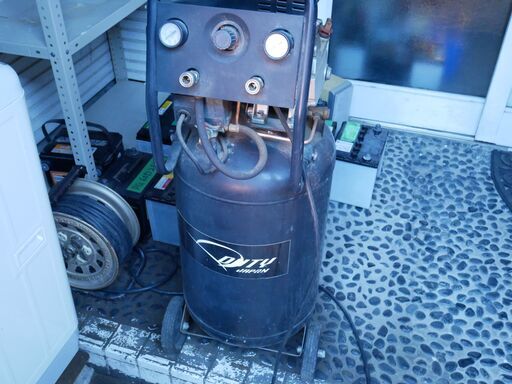
コンプレッサー 取説付き 縦置き
¥10,000
-

ジャスグリッティー 2023
¥11,000
-

パチスロエウレカセブン
¥12,000
-
